
The Great Migration
Last we spoke, I had bought myself a Decibel S1 Mini PC so I could write-off the life-long debt I was about to owe Google. Have we not spoken recently? Catch up at Where it all began.
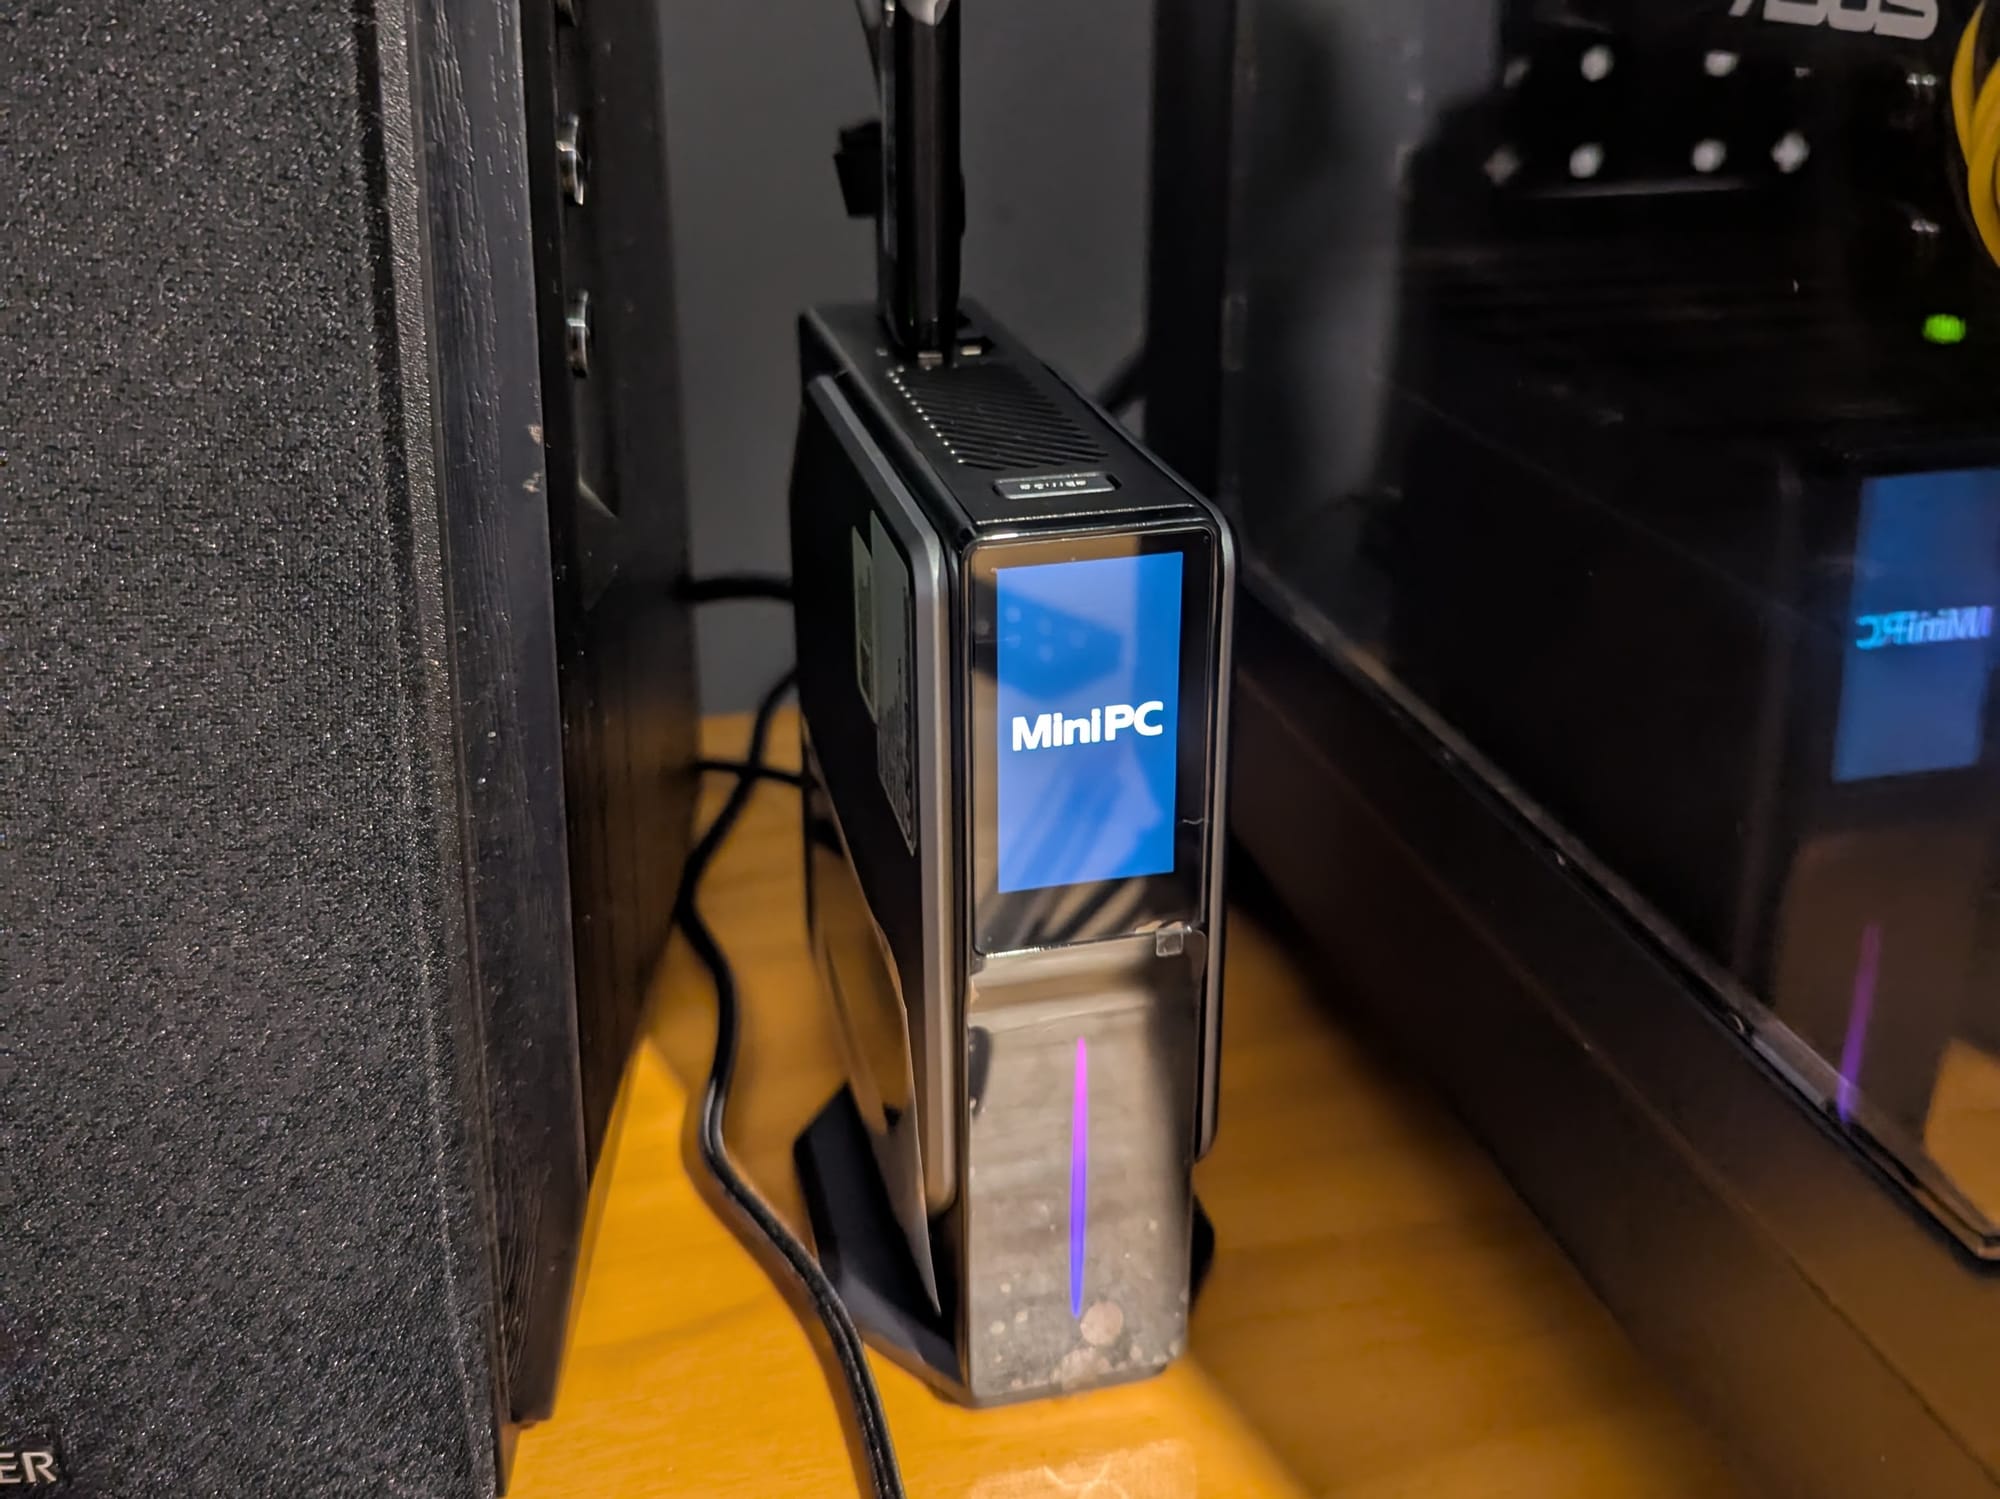
My new "server" arrived and unboxing it I was struck by how teeeeeny it was. A square box, shorter than my phone in both directions and probably less thick than two packs of cards. Mounted vertically between my tower PC and my speaker, it almost disappears.
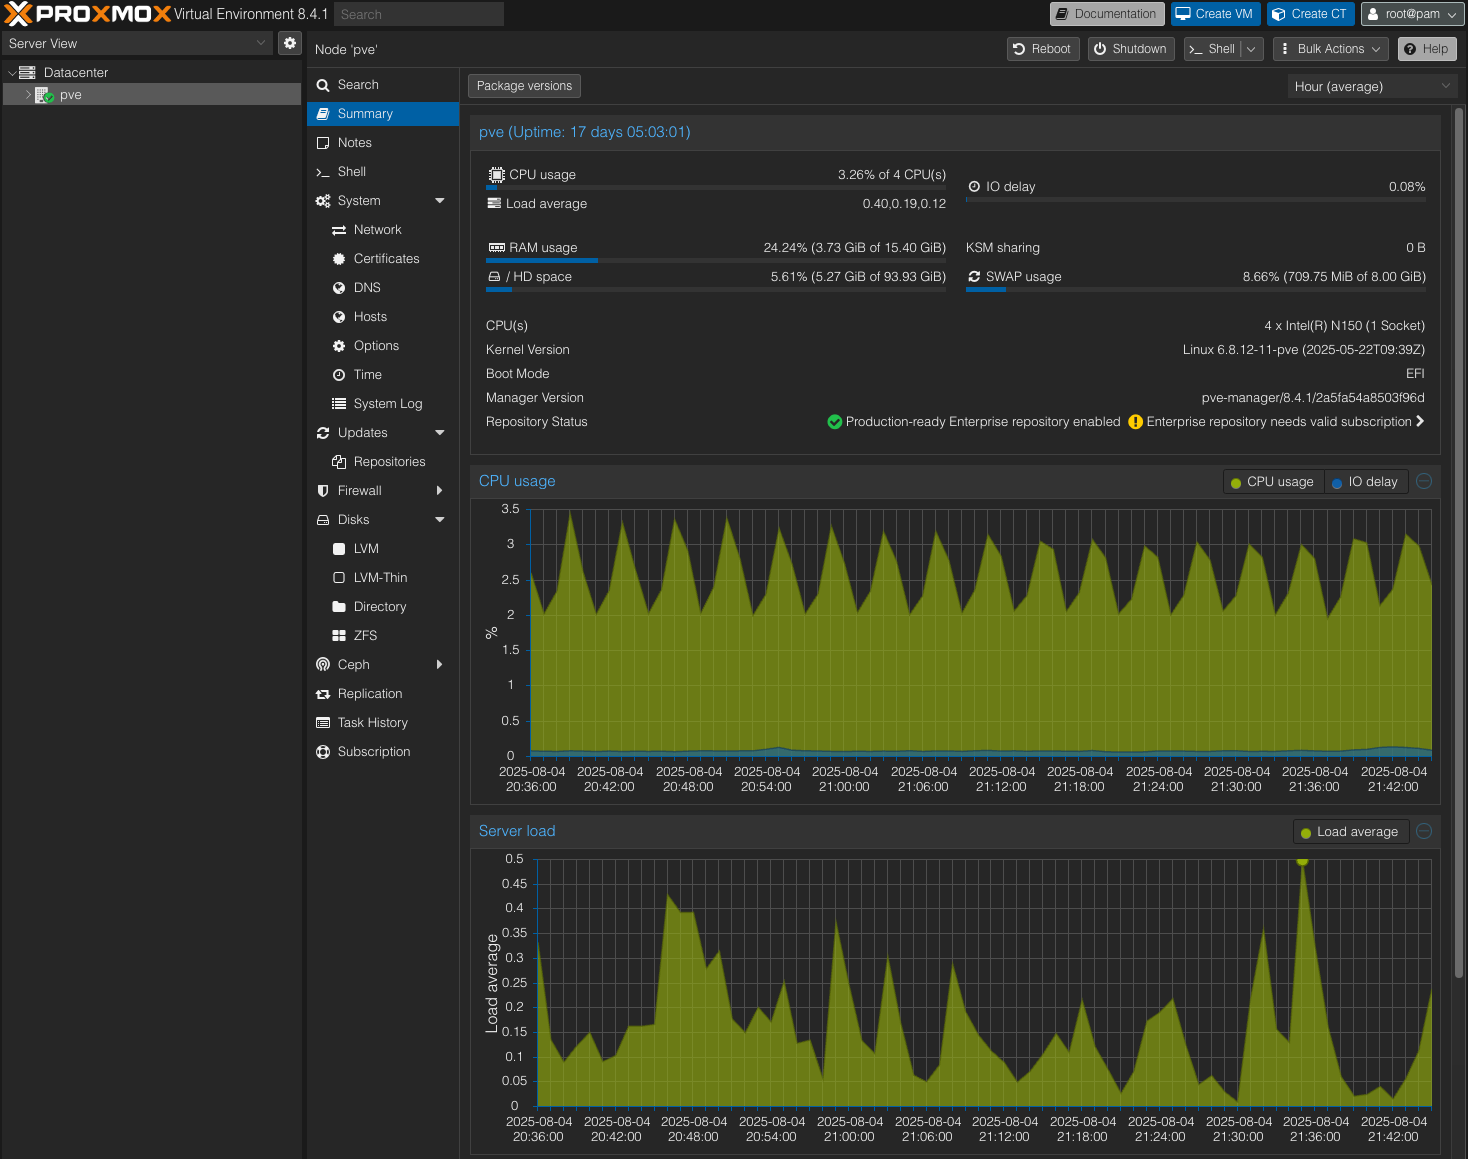
Once unboxed, I had to decide which operating system I was going to run on it. The goal is to move over all of the applications I currently have running on various Raspberry Pis scattered around my flat, so the obvious solution is to just install Debian or Ubuntu Server and be done with it. But just running a bunch of applications on a single server is not very observable, and what is the point of starting a new project unless one is going to learn something. So I went with Proxmox.
Proxmox is a hypervisor similar to something like VMWare or Virtualbox. To the non-software inclined among us, a hypervisor allows one to run a bunch of virtual computers on a single real computer. The benefits of running something like Proxmox instead of a single server is that your applications are isolated from each other - software or entire operating systems can be changed on one without impacting the others and a security flaw in one is less likely to give a would-be hacker access to all of your systems.
Being a complete newbie at Proxmox I watched Learn Linux TV's full From Zero to Proxmox series which I heartily recommend as a great intro into the software (although I do suggest 2x speed and liberal use of the skip forward button). Foundations set, I flashed the ISO to an SD, overwrote the vestigial Windows partition and 10 minutes later I was booted into my beautiful new operating system.
So what should I set up first? This whole project was so I could install Immich, but I needed to add another drive before it could fit all of the images I have collected over my life. I have Home Assistant running, but there are some complications around USB passthrough and if it stops working, so do my lights... So I eventually settled on migrating my web server.
For the uninitiated, a web server on a network like mine is like a concierge at a theatre. Requests come into my house through the router, the web server looks at their ticket and shows them to their seat. Just in this case, the ticket is the address (for example this very site, https://miggl.es) and the seat is the application the user wants to access.
Given that this is a learning exercise, I decided not to simply move my nginx (pronounced engine-x, something I learned years after first using it) install over to Proxmox, but instead to install Traefik which is a container native proxy that has built in support for the wonderful folks over at LetsEncrypt so that my website can have that little padlock you see in the address bar.
Installing Traefik was incredibly simple once I discovered the treasure trove that is the Proxmox VE Helper Scripts Repository, a community maintained set of scripts that allows you to create containers and VMs for popular applications with a single line. Simply search for your application, copy the install command, paste it into the Proxmox shell and 5 minutes later you have your running application.
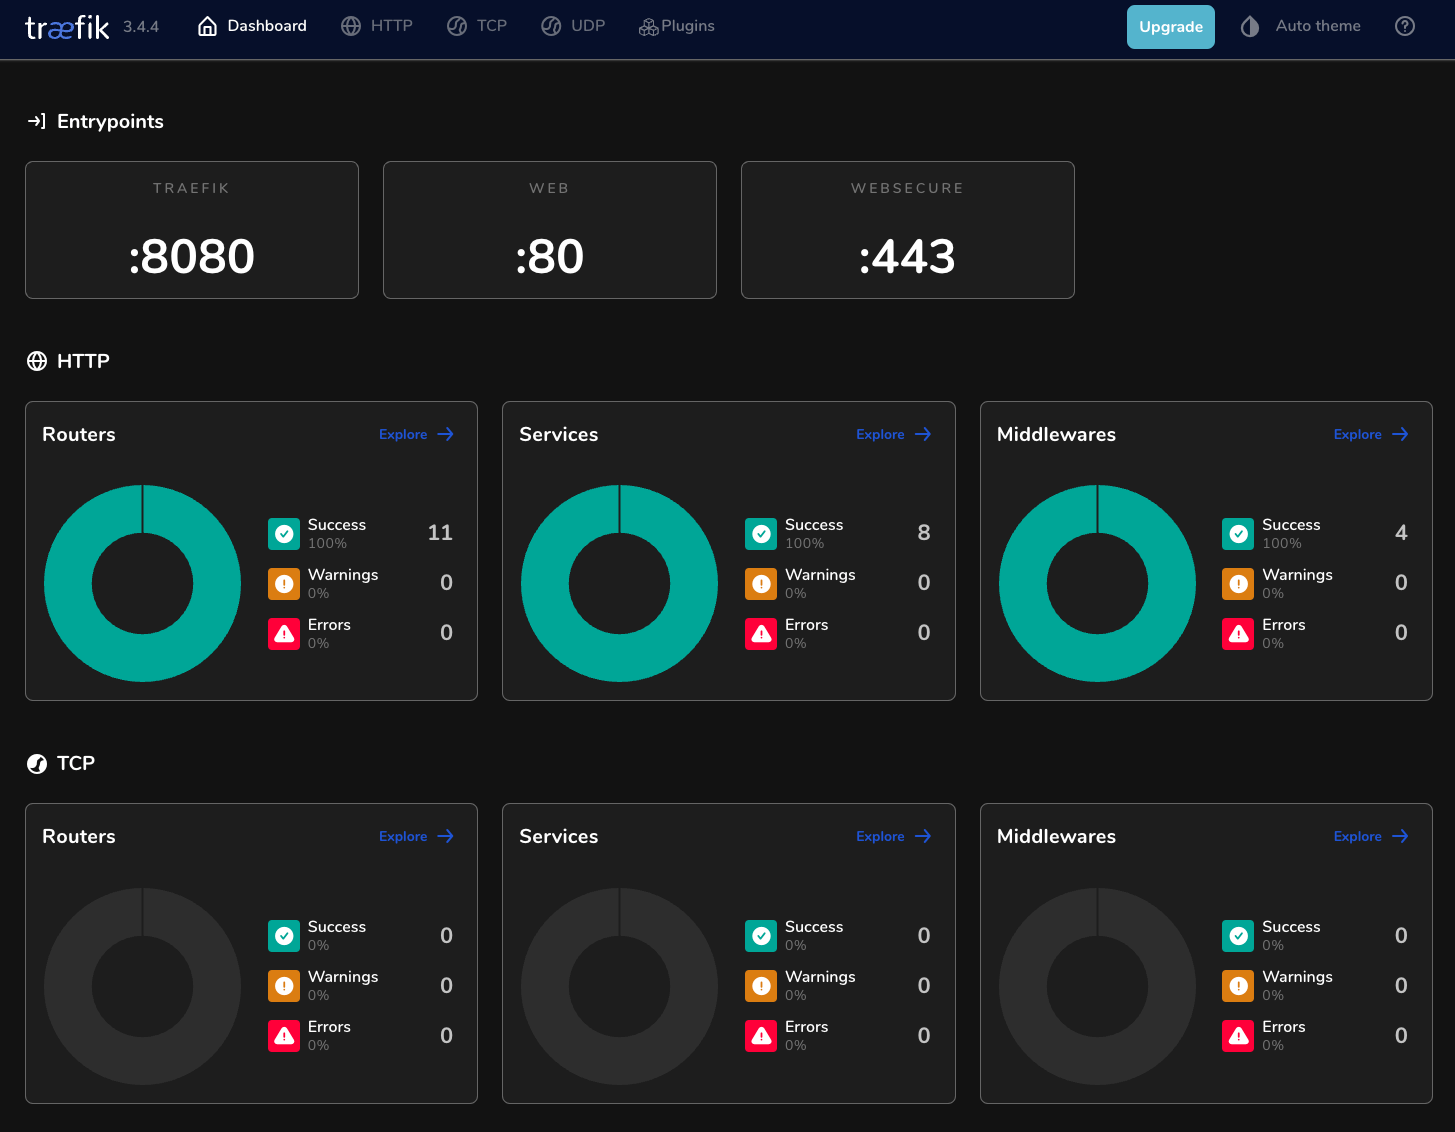
The Traefik configuration was reasonably straight forwad after I understood the difference between static and dynamic configs. Traefik is made up of routers, services and middlewares. A router is a set of rules which, when met, send requests to a service which is just an address on the network. Middlewares allow you to make changes to the requests on the way, but I haven't had the need for those yet. The example below is for my Home Assistant installation. It is simply saying when the address is home.miggl.es send the request to http://192.168.0.102:8123 and use letsencrypt for the certificate.
http:
  routers:
    home-router:
      rule: "Host(`home.miggl.es`)"
      service: home-assistant
      tls:
        certResolver: letsencrypt
  services:
    home-assistant:
      loadBalancer:
        servers:
          - url: "http://192.168.0.102:8123"
Once I was reasonably sure of my configuration, I told my router to send all requests to Traefik instead of nginx and bob's your auntie's husband we were in business. (It was not all smooth sailing - there was some trouble formatting in the configuration files, and some awkwardness with an old FreeDNS domain being dormant and not working on LetsEncrypt but the problem was always between the keyboard and the chair.)
So we are officially online and we have our first application on Proxmox. Join me next time where we discover how we got here, literally.


